Start here
Start here
Section titled “Start here”This is the recommended first stop for a new client. The admin is a private workspace; the customer site is the public experience.
Sign in and orient yourself
Section titled “Sign in and orient yourself”- Open admin sign in and enter the staff account credentials.
- After sign-in, the left navigation is grouped into Operate, Present, Grow, and System.
- The top bar identifies the current workspace and account. Use Sign out on shared devices.
- Start on Overview to understand today’s activity.
Staff accounts only see the areas allowed by their role. Ask an administrator to change access; do not share credentials.
New-client setup checklist
Section titled “New-client setup checklist”Complete these in order:
- Business setup — identity, contact details, timezone, hours, and policies.
- Services — categories, prices, durations, visibility, and staff assignment.
- Staff and team access — providers, working hours, and admin invitations.
- Gallery and site content — public images, landing-page copy, and preview.
- Marketing — SEO, reviews, referrals, members, and gift cards as applicable.
- Test the customer flow: open the booking page, submit a safe test appointment, and verify it in Bookings.
Before launch
Section titled “Before launch”- Check the timezone and opening hours against the real business schedule.
- Confirm every published service has a price, duration, and assigned provider.
- Open the customer site in a private browser window and check mobile layout, navigation, contact details, and booking availability.
- Remove test records or mark them clearly before handing the workspace to the client.
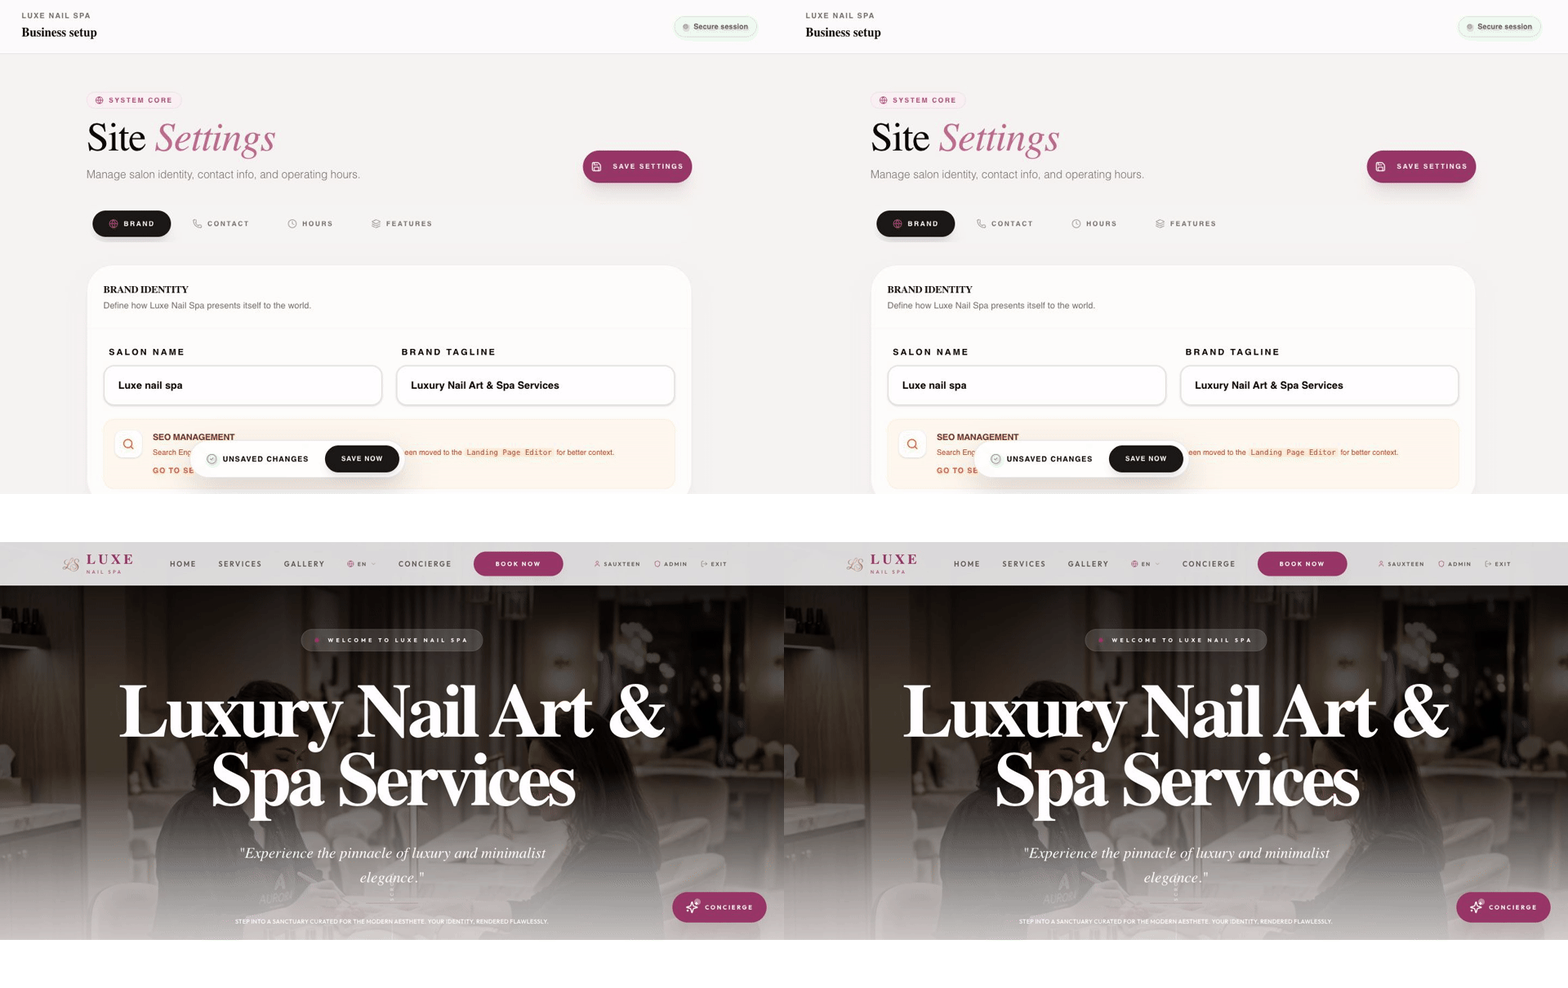
The animation is a quick orientation aid. Use the written checklist as the source of truth.